My friend, Amy, and I have been teaching a sewing class for the elementary-aged kids at church over the past three weeks. This week they will finish making their very own pillowcases and also have the opportunity to make a second case to donate to the
Conkerr Cancer Pillowcase Program at a local hospital. I made a pillowcase today to donate to a student of mine who is in the hospital with cancer. It was really easy to make using the "roll-up" method. Here's how it's done.
Pre-step - wash all fabric before cutting/sewing
Step 1 - Cut main fabric to 41" x 27" and iron
Step 2 - Cut accent (cuff) fabric to 41" x 10" and iron
 |
| Step 3 - Lay accent piece right side up on work surface |
 |
| Step 4 - lay main piece wrong side up on top of accent piece |
 |
| Step 5 - roll main fabric up from the bottom towards the top |
 |
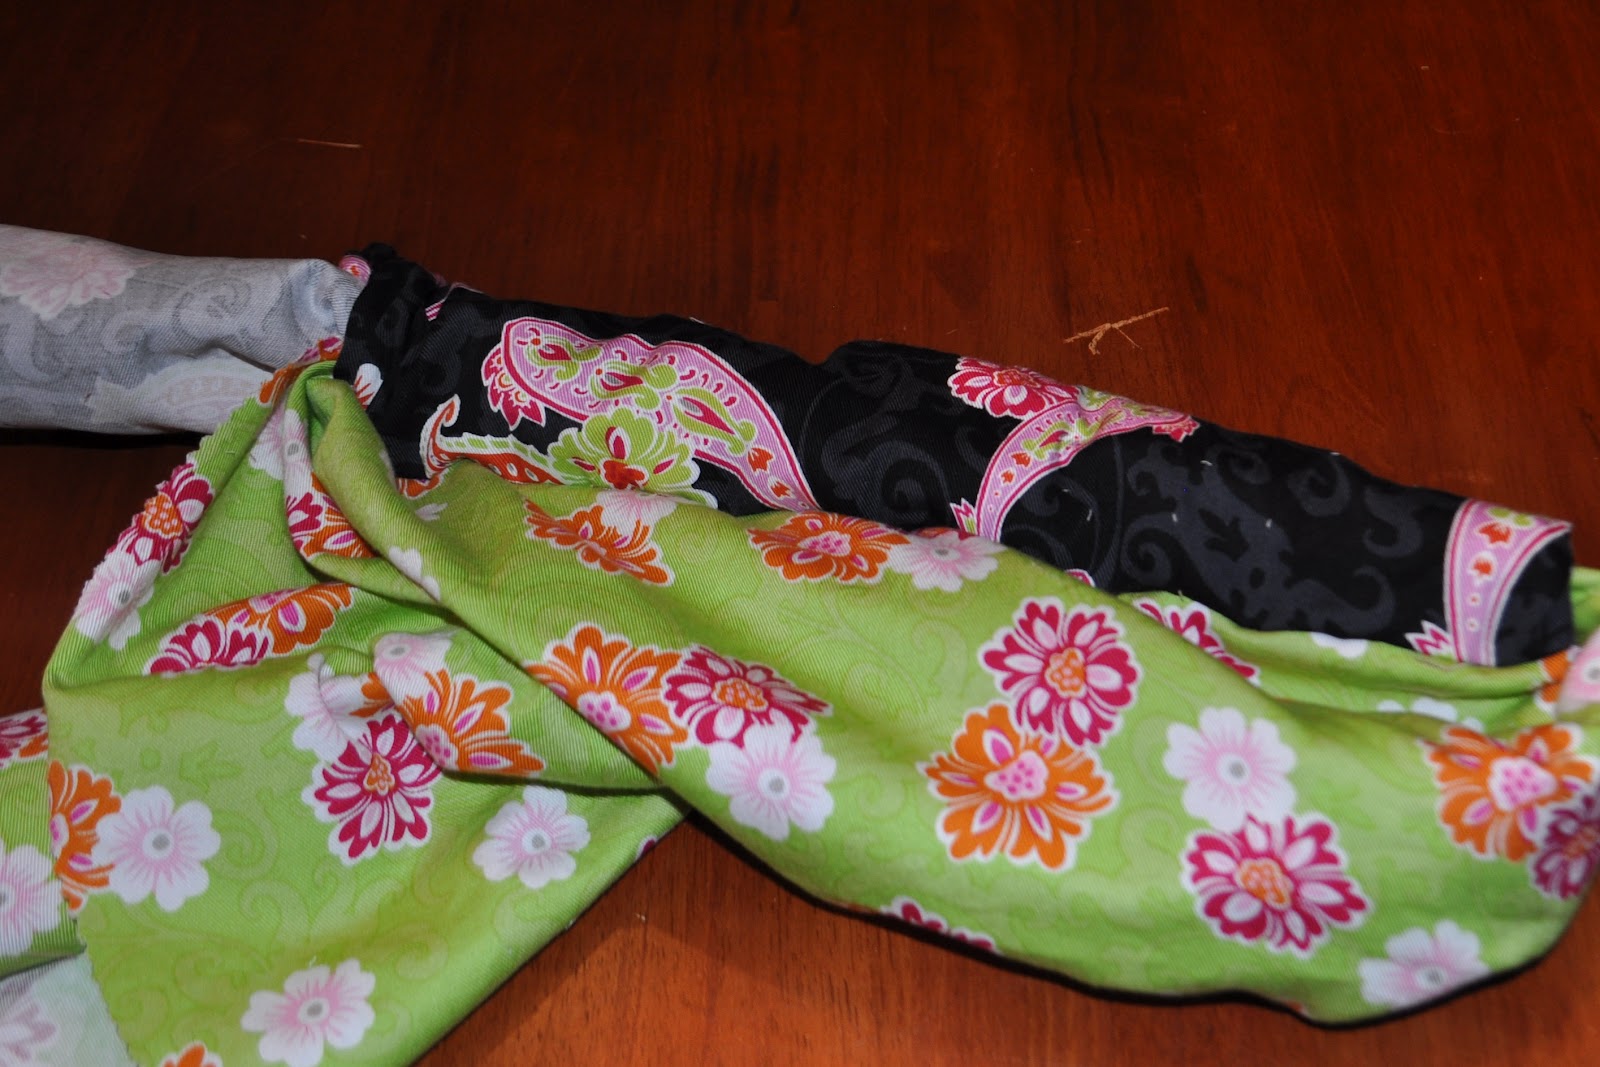
| Step 6 - bring accent fabric up and over rolled up main fabric |
 |
| Step 7 - pin the heck out of it |
 |
| Step 7.5 - admire your handiwork |
 |
| Step 8 - sew a straight stitch along length |
 |
| Step 8.5 - admire your handiwork |
 |
| Step 9 - start to pull main fabric out of its roll |
 |
| Step 9.5 - keep pulling |
 |
| Done with the cuff - note how all the raw edges are hidden |
I finished off the case with French seams on the side and bottom to keep all the raw edges enclosed. (Here is a great tutorial on how to do a French seem by
Coletterie.) But, you can can simply sew the right sides together and serge, zigzag stitch, or trim/press the edges. From start to finish it took me less than an hour, and that was with lots of extra ironing and sewing for the French seams.
I can't wait for the kids to finish their pillowcases!


Comments